1. ETH2.0节点维护记录
1.1 测试网概述
关于ETH2.0,可阅读Layer2技术 | 星空凛的博客 (miaoguoge.xyz)。
据我理解,ETH2.0有着两大类的测试网:
- 一类侧重于PoS机制,面向于矿工以及新加入的“验证者”,代表:Prater。它是没有历史包袱的纯ETH2的PoS测试网,类似于1.0时代的这些测试网络:
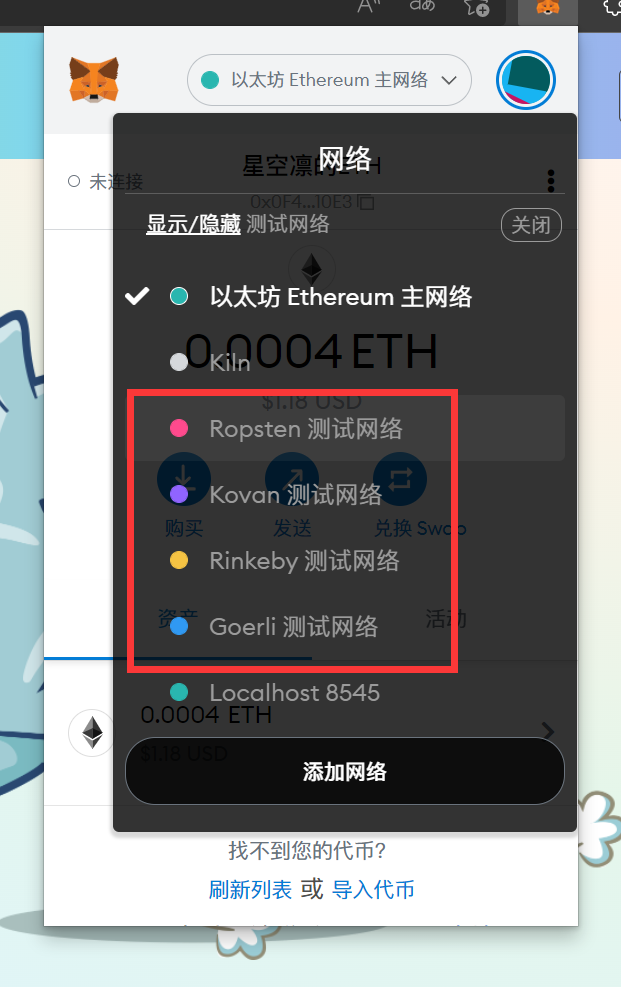
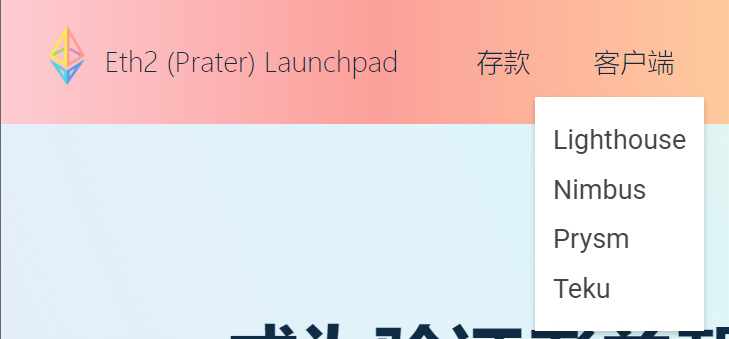
同时也被大多数2.0的客户端原生支持:
另一类则侧重于the merge,面向于开发者、节点运营商等,代表:Kiln。它们模拟的是合并这个过程以及合并完成后的整个网络,也叫做Merge Testnet,这些测试网似乎是由官方来进行维护的,隶属于#TestingTheMerge这一以太坊社区计划,由Marius van der Wijden和Parithosh Jayanthi领导,并且在进行着不向后兼容的升级:
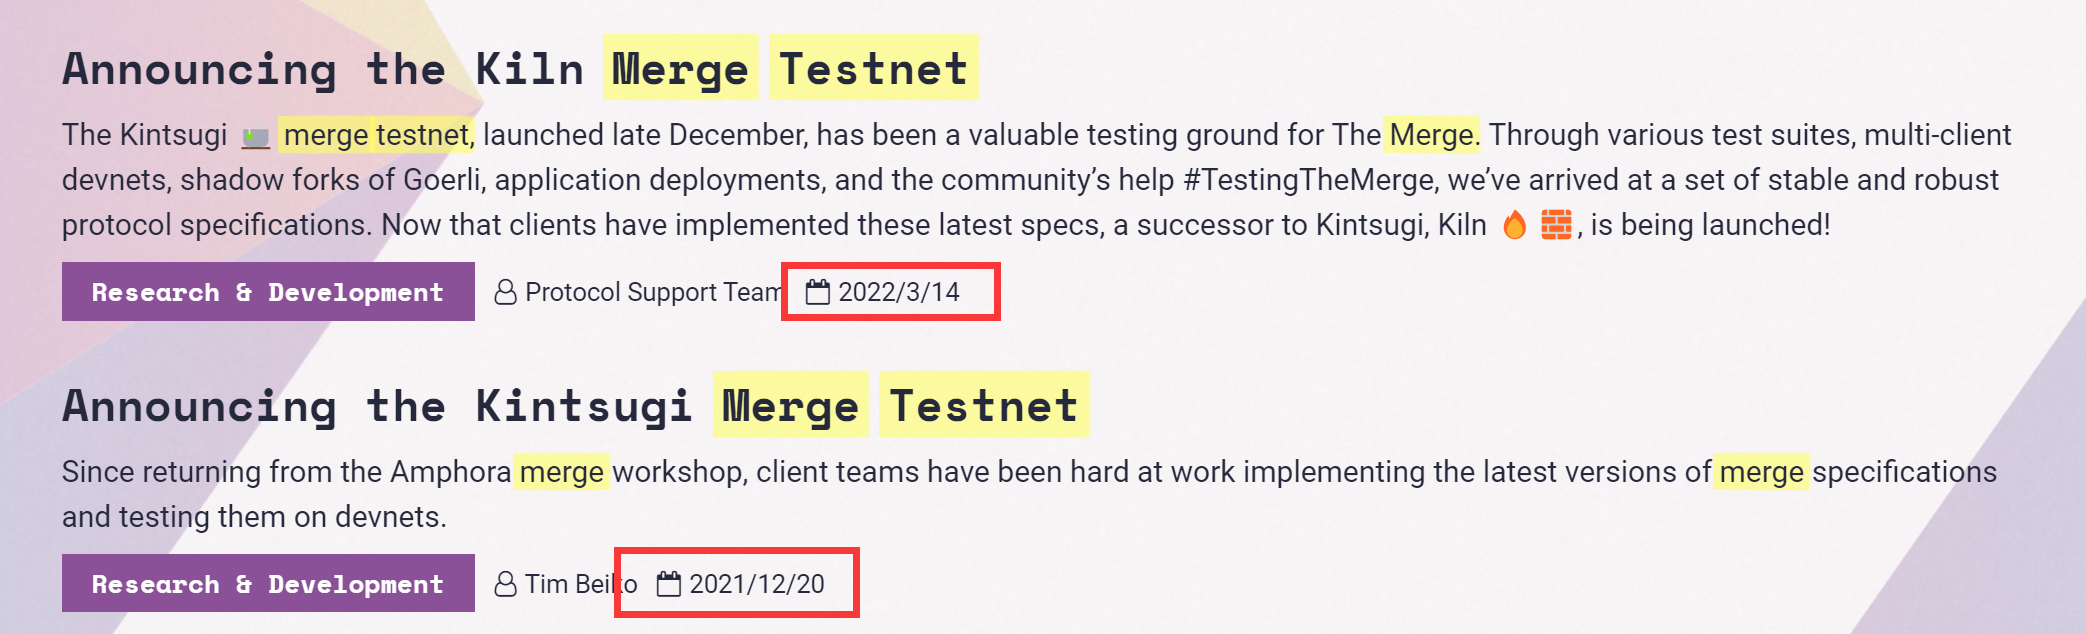
2021年12月20日发布Kintsugi测试网,2022年3月14日发布继任者Kiln测试网,并宣布这有望是最后一个 Merge Testnet,同时将弃用Kintsugi测试网:

与以太坊主网一样,Kiln 的执行层在PoW机制下启动,与运行PoS的信标链并行。
如果想要在kiln测试网上运行节点,则大部分需要Geth配合另一个2.0的客户端共同来完成,并且需要手动make一个特殊的版本:
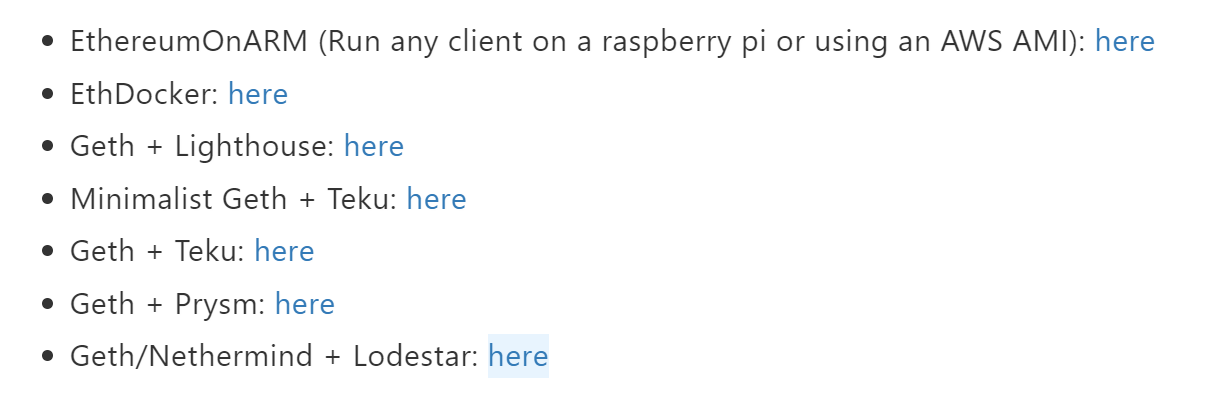
虽说有人搞出来了自动化的Docker镜像,但硬件要求很难负担得起:
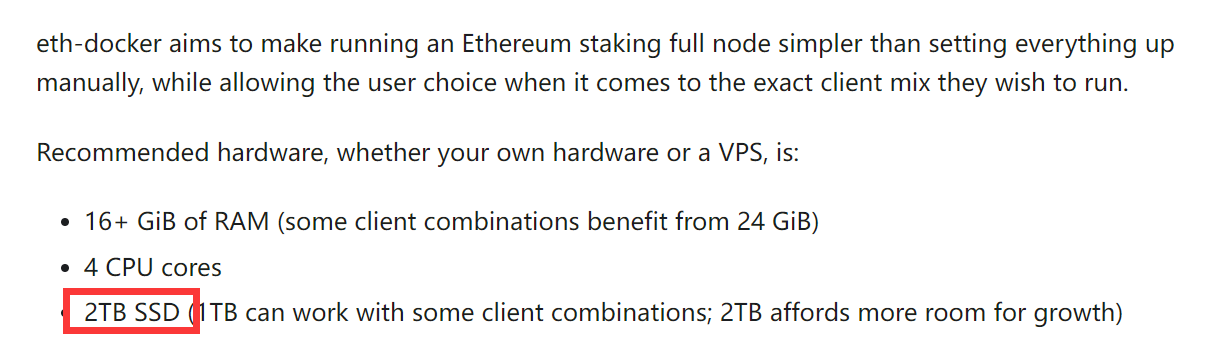
因此我选择的是使用Geth + Lighthouse的方案。
1.2 Geth + Lighthouse部署指引
1. 初始化工作
1
2
3
4
5
6
7
8
9
10
11
12
13
14
15
16
17
18
19
20
21
22
23
24
25
26
| cd /disk
sudo mkdir ETH2TestnetData
sudo mkdir ETH2LighthouseData
sudo chmod -R 777 ETH2TestnetData ETH2LighthouseData
docker pull ubuntu
docker run -itd -v /disk/ETH2TestnetData:/var/lib/goethereum -v /disk/ETH2LighthouseData:/var/lib/lighthouse -p 30304:30303 --name ETH2Testnet --hostname ETH2Testnet ubuntu
docker exec -it ETH2Testnet zsh
apt update
apt install -y zsh
zsh
apt install -y curl git
sh -c "$(curl -fsSL https://raw.github.com/ohmyzsh/ohmyzsh/master/tools/install.sh)"
apt install -y vim
cd ~
vim .zshrc
source .zshrc
git clone https://github.com/zsh-users/zsh-syntax-highlighting.git ${ZSH_CUSTOM:-~/.oh-my-zsh/custom}/plugins/zsh-syntax-highlighting
git clone https://github.com/zsh-users/zsh-autosuggestions ${ZSH_CUSTOM:-~/.oh-my-zsh/custom}/plugins/zsh-autosuggestions
apt install -y tmux
vim .zshrc
source .zshrc
apt install -y locales
locale-gen zh_CN.UTF-8
echo 'export LANG=C.UTF-8' >> ~/.zshrc
docker commit -m="ubuntu_mgg" -a="hoshimgg" ETH2Testnet ubuntu/mgg:1.0
|
2. 构建
1
2
3
4
5
6
7
8
9
10
11
12
13
14
15
16
17
18
19
| docker exec -it ETH2Testnet zsh
cd ~
apt install -y build-essential pkg-config cmake clang wget ccze
wget https://go.dev/dl/go1.17.8.linux-amd64.tar.gz
rm -rf /usr/local/go && tar -C /usr/local -xzf go1.17.8.linux-amd64.tar.gz
export PATH=$PATH:/usr/local/go/bin
echo 'export PATH="$PATH:/usr/local/go/bin"' >> ~/.zshrc
rm go1.17.8.linux-amd64.tar.gz
curl https://sh.rustup.rs -sSf | sh
source $HOME/.cargo/env
git clone -b merge-kiln-v2 https://github.com/MariusVanDerWijden/go-ethereum.git
cd go-ethereum
make geth
cp ./build/bin/geth /usr/local/bin
cd ~
git clone -b unstable https://github.com/sigp/lighthouse.git
cd lighthouse
make
cp ~/.cargo/bin/lighthouse /usr/local/bin
|
3. 配置
1
2
3
4
5
6
7
8
| cd ~
git clone https://github.com/eth-clients/merge-testnets.git
useradd --no-create-home --shell /bin/false goeth
mkdir -p /var/lib/goethereum
cp ~/merge-testnets/kiln/genesis.json /var/lib/goethereum/
chown -R goeth:goeth /var/lib/goethereum
apt install sudo
sudo -u goeth /usr/local/bin/geth init /var/lib/goethereum/genesis.json --datadir /var/lib/goethereum
|
编辑~/scripts/start_geth.sh文件,内容如下:
1
2
3
4
5
6
7
8
9
10
11
12
13
14
| /usr/local/bin/geth \
--syncmode=full \
--http \
--datadir /var/lib/goethereum \
--metrics \
--metrics.expensive \
--pprof \
--networkid=1337802 \
--http.api="engine,eth,web3,net,debug" \
--http.corsdomain "*" \
--http.addr "0.0.0.0" \
--authrpc.jwtsecret=/var/lib/goethereum/jwtsecret \
--override.terminaltotaldifficulty 20000000000000 \
--bootnodes "enode://c354db99124f0faf677ff0e75c3cbbd568b2febc186af664e0c51ac435609badedc67a18a63adb64dacc1780a28dcefebfc29b83fd1a3f4aa3c0eb161364cf94@164.92.130.5:30303"
|
1
2
3
4
5
6
7
8
9
10
|
docker commit -m="eth2node/testnet" -a="hoshimgg" ETH2Testnet eth2node/testnet:1.4
docker exec -it ETH2Testnet zsh
cd ~/scripts
ts geth
zsh start_geth.sh
useradd --no-create-home --shell /bin/false lighthousebeacon
mkdir -p /var/lib/lighthouse
chown -R lighthousebeacon:lighthousebeacon /var/lib/lighthouse
|
编辑~/scripts/start_lighthouse.sh文件,内容如下:
1
2
3
4
5
6
7
8
9
10
11
12
| sudo -u lighthousebeacon /usr/local/bin/lighthouse bn \
--network kiln \
--datadir /var/lib/lighthouse \
--staking \
--http-allow-sync-stalled \
--merge \
--execution-endpoints http://127.0.0.1:8551 \
--metrics \
--validator-monitor-auto \
--jwt-secrets="/var/lib/goethereum/jwtsecret" \
--terminal-total-difficulty-override=20000000000000 \
--boot-nodes="enr:-Iq4QMCTfIMXnow27baRUb35Q8iiFHSIDBJh6hQM5Axohhf4b6Kr_cOCu0htQ5WvVqKvFgY28893DHAg8gnBAXsAVqmGAX53x8JggmlkgnY0gmlwhLKAlv6Jc2VjcDI1NmsxoQK6S-Cii_KmfFdUJL2TANL3ksaKUnNXvTCv1tLwXs0QgIN1ZHCCIyk"
|
1
2
3
4
| chmod +r /var/lib/goethereum/jwtsecret
ts lighthouse
zsh start_lighthouse.sh
|
理论上来说,这样就部署完成了,但是我在运行时碰到了问题,而且并没有搜寻到解决方案,只好在GitHub上提了一个issue:Errors when deploying in Docker · Issue #13 · remyroy/ethstaker (github.com),目前还没有人回复,因此,我觉定先用上文提到的自动化的Docker镜像作为替代方案尝试一下。
2022年5月11日更新
经过数天的验证,HDD似乎还承受的住,因此该方案(Geth + Lighthouse)放弃。
1.3 EthDocker部署指引
Before you start. | eth-docker
eth-docker/KILN.md at merge · eth-educators/eth-docker (github.com)
文档中提到“共识客户端数据库很小,大约20-100GB,但不知道一旦与PoW合并完成,增长会是什么样子。”
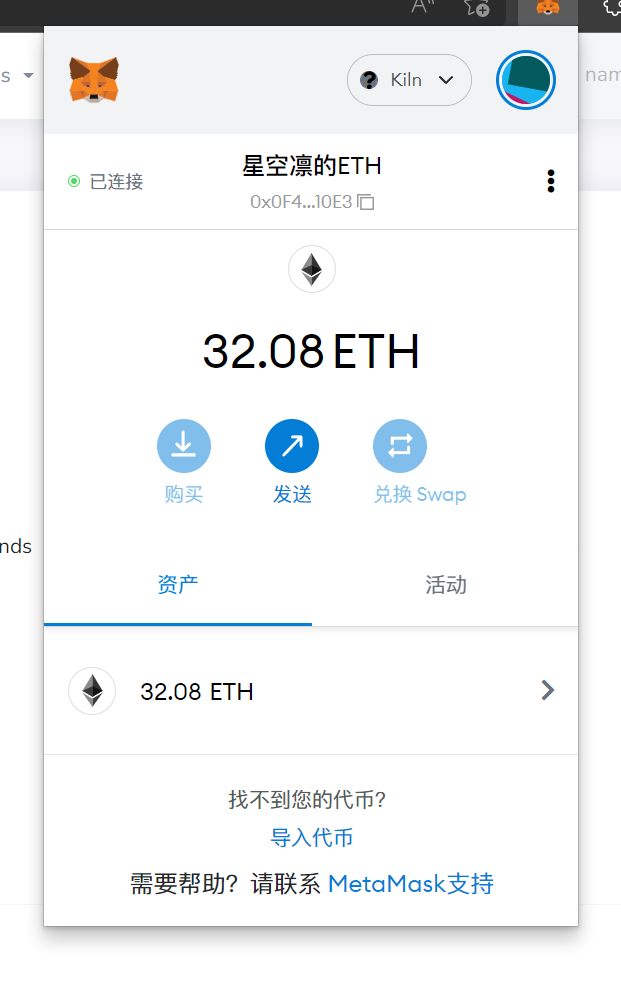
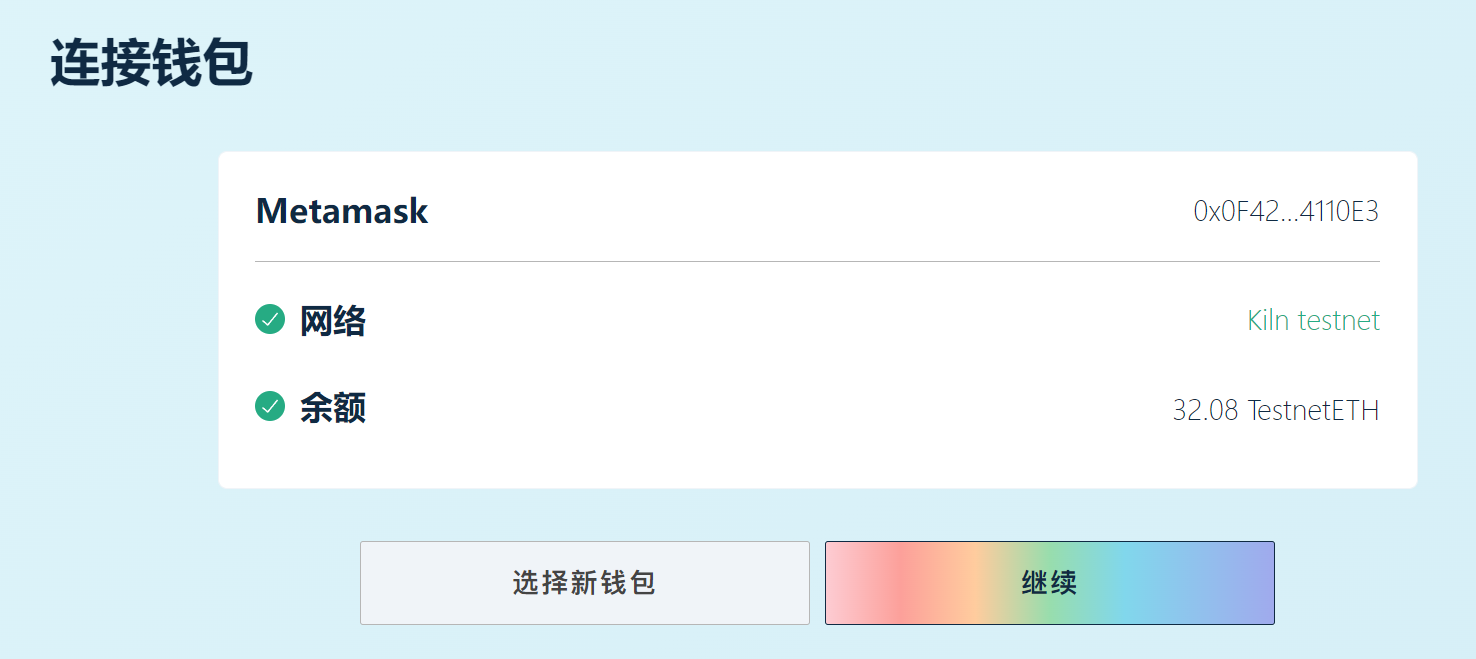
首先在 https://kiln.themerge.dev 上为自己的kiln钱包地址申请资金,如果申请成功,则会获得32.08个ETH:
1
2
3
4
5
| sudo usermod -aG docker ubuntu
newgrp docker
cd ~/mgg
git clone https://github.com/eth-educators/eth-docker.git merge-test && cd merge-test && git fetch origin merge && git checkout merge
./ethd config
|
然后便会出现下图:
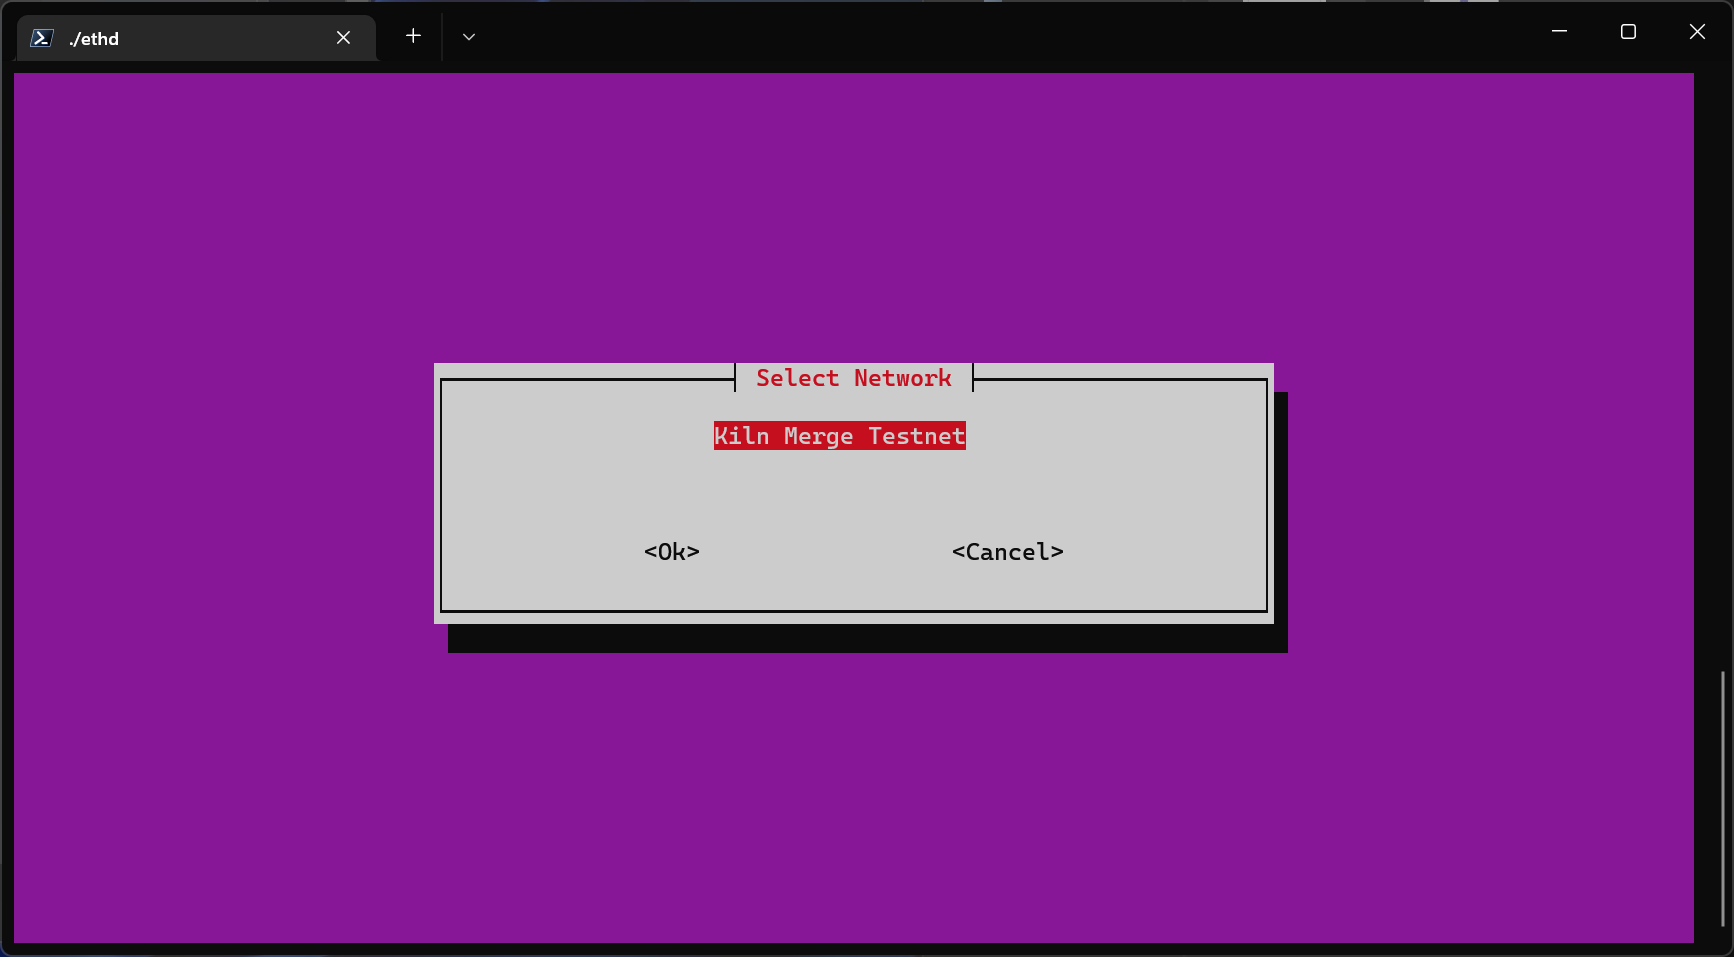
通过Tab键选择<Ok>,然后回车;
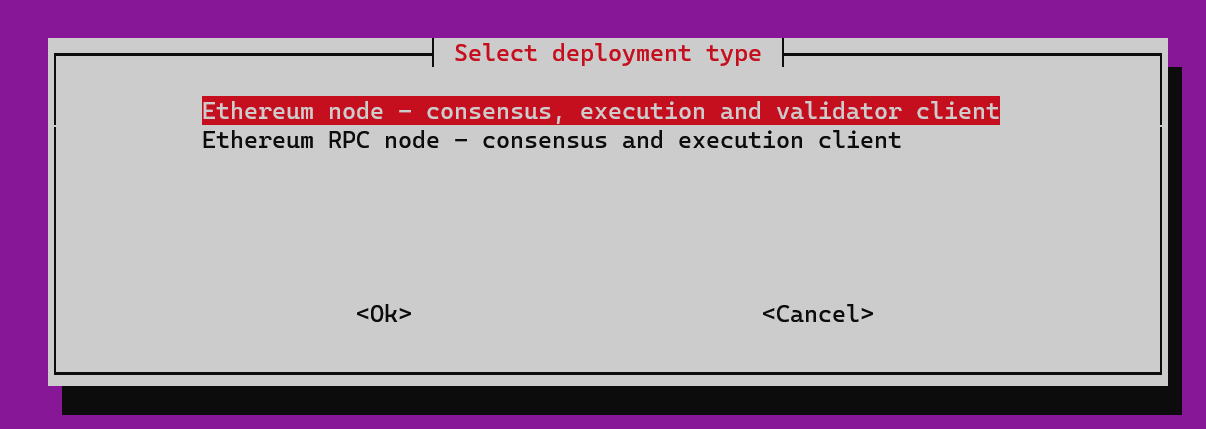
这里选择完整验证者节点;
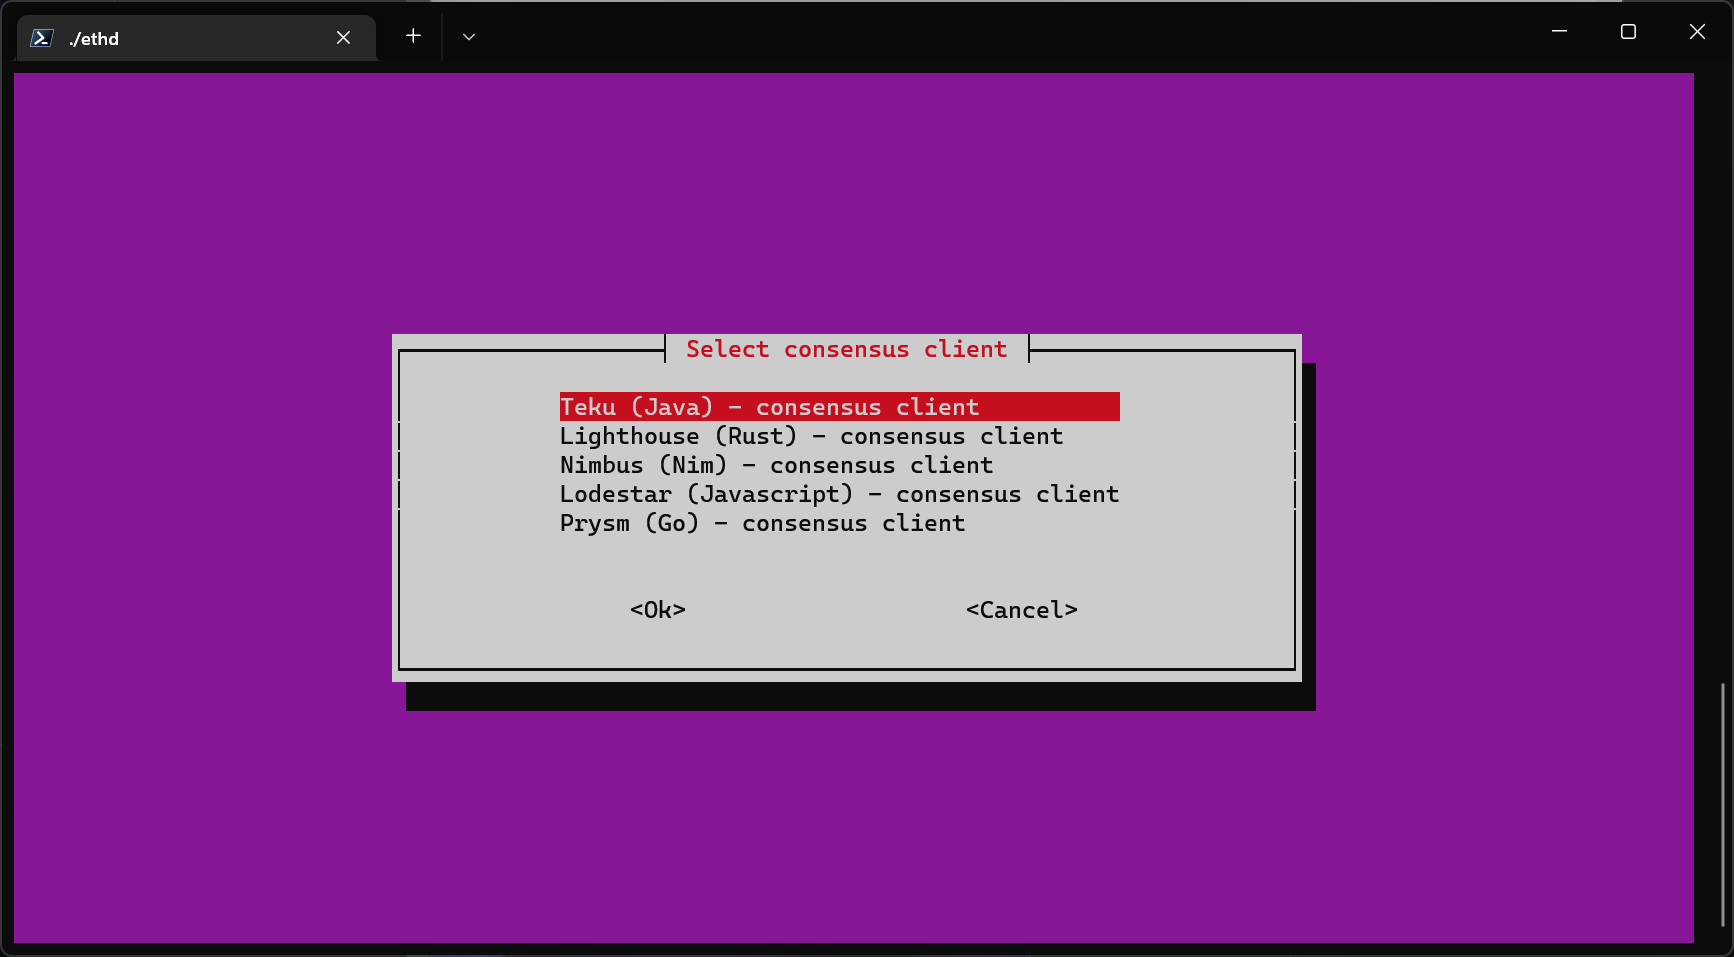
这里我选择的是默认的Teku;
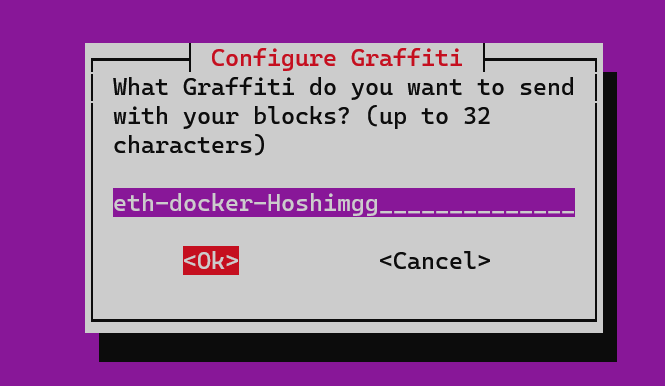
这里输入自己的用户名;
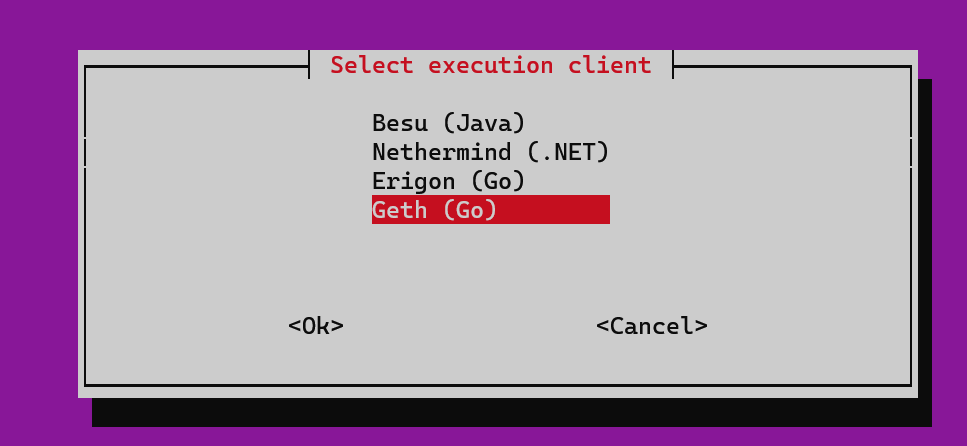
这里选择Geth;
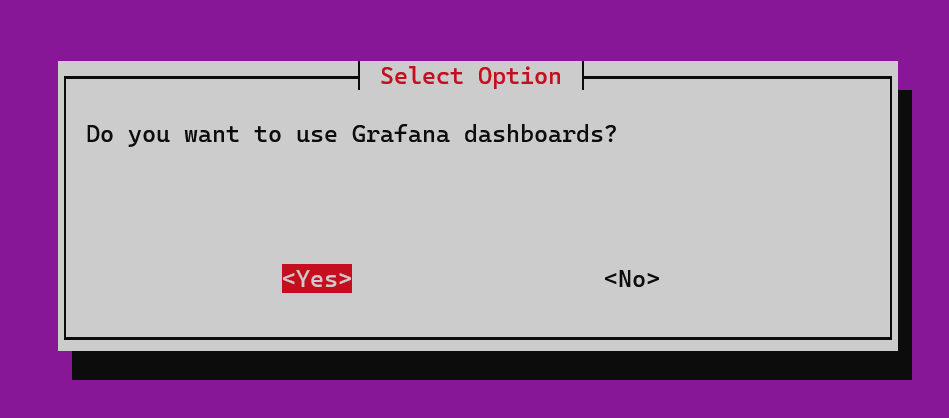
这里选择Yes,使用控制台面板;
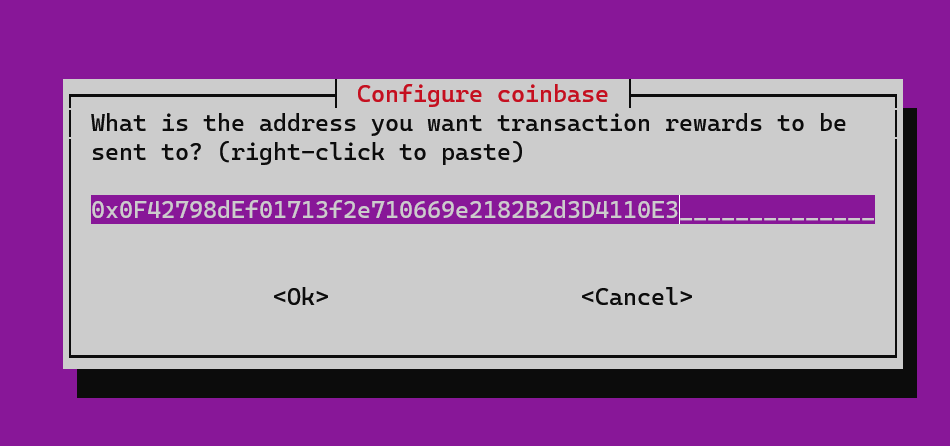
这里输入自己的地址;然后整个配置过程便完成了:

1
2
3
4
| cd /disk
sudo mkdir ETH2DockerData
sudo chmod -R 777 ETH2DockerData
cd ~/mgg/merge-test
|
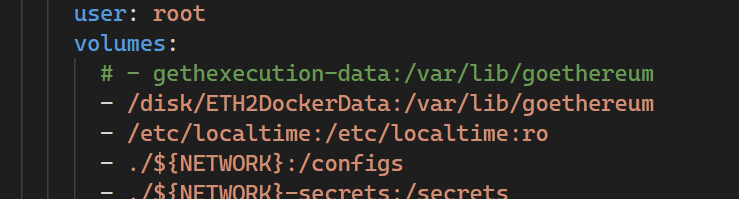
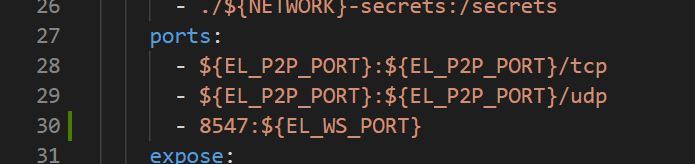
此时修改一下geth.yml,将execution下的volumes中的gethexecution-data改为/disk/ETH2DockerData:
1
2
3
4
5
| ts long_time_work
docker-compose build
docker-compose run --rm deposit-cli-new --eth1_withdrawal_address 0x0F42798dEf01713f2e710669e2182B2d3D4110E3
|
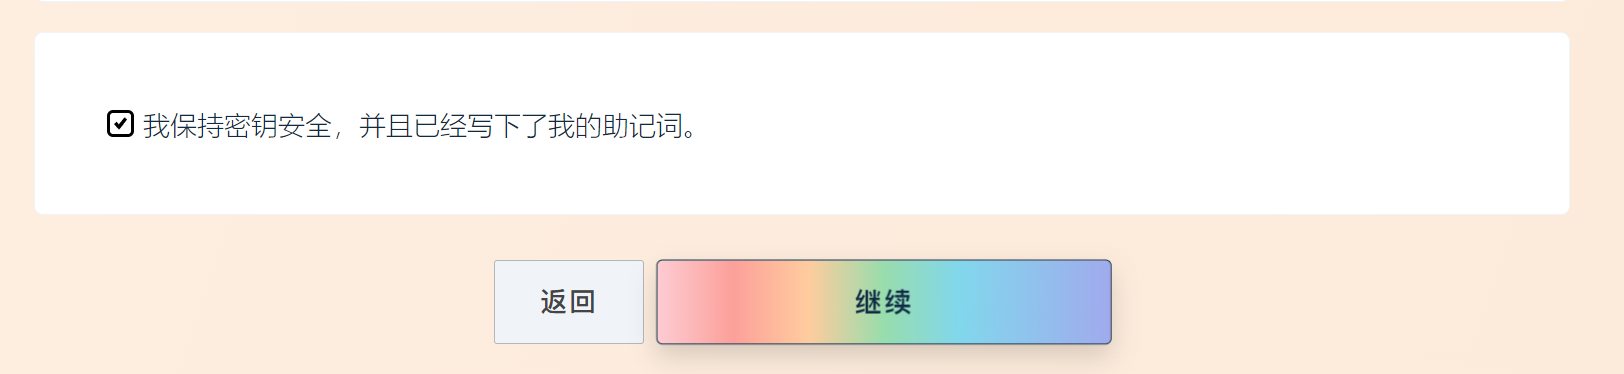
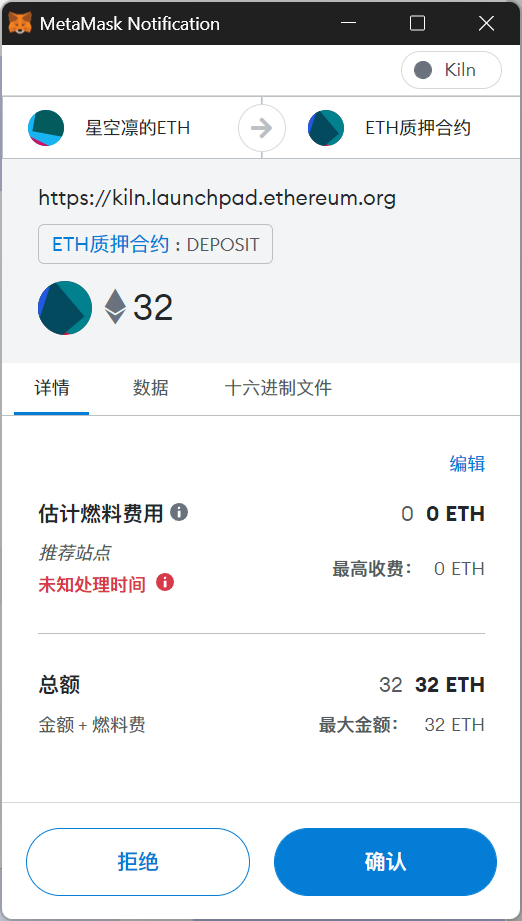
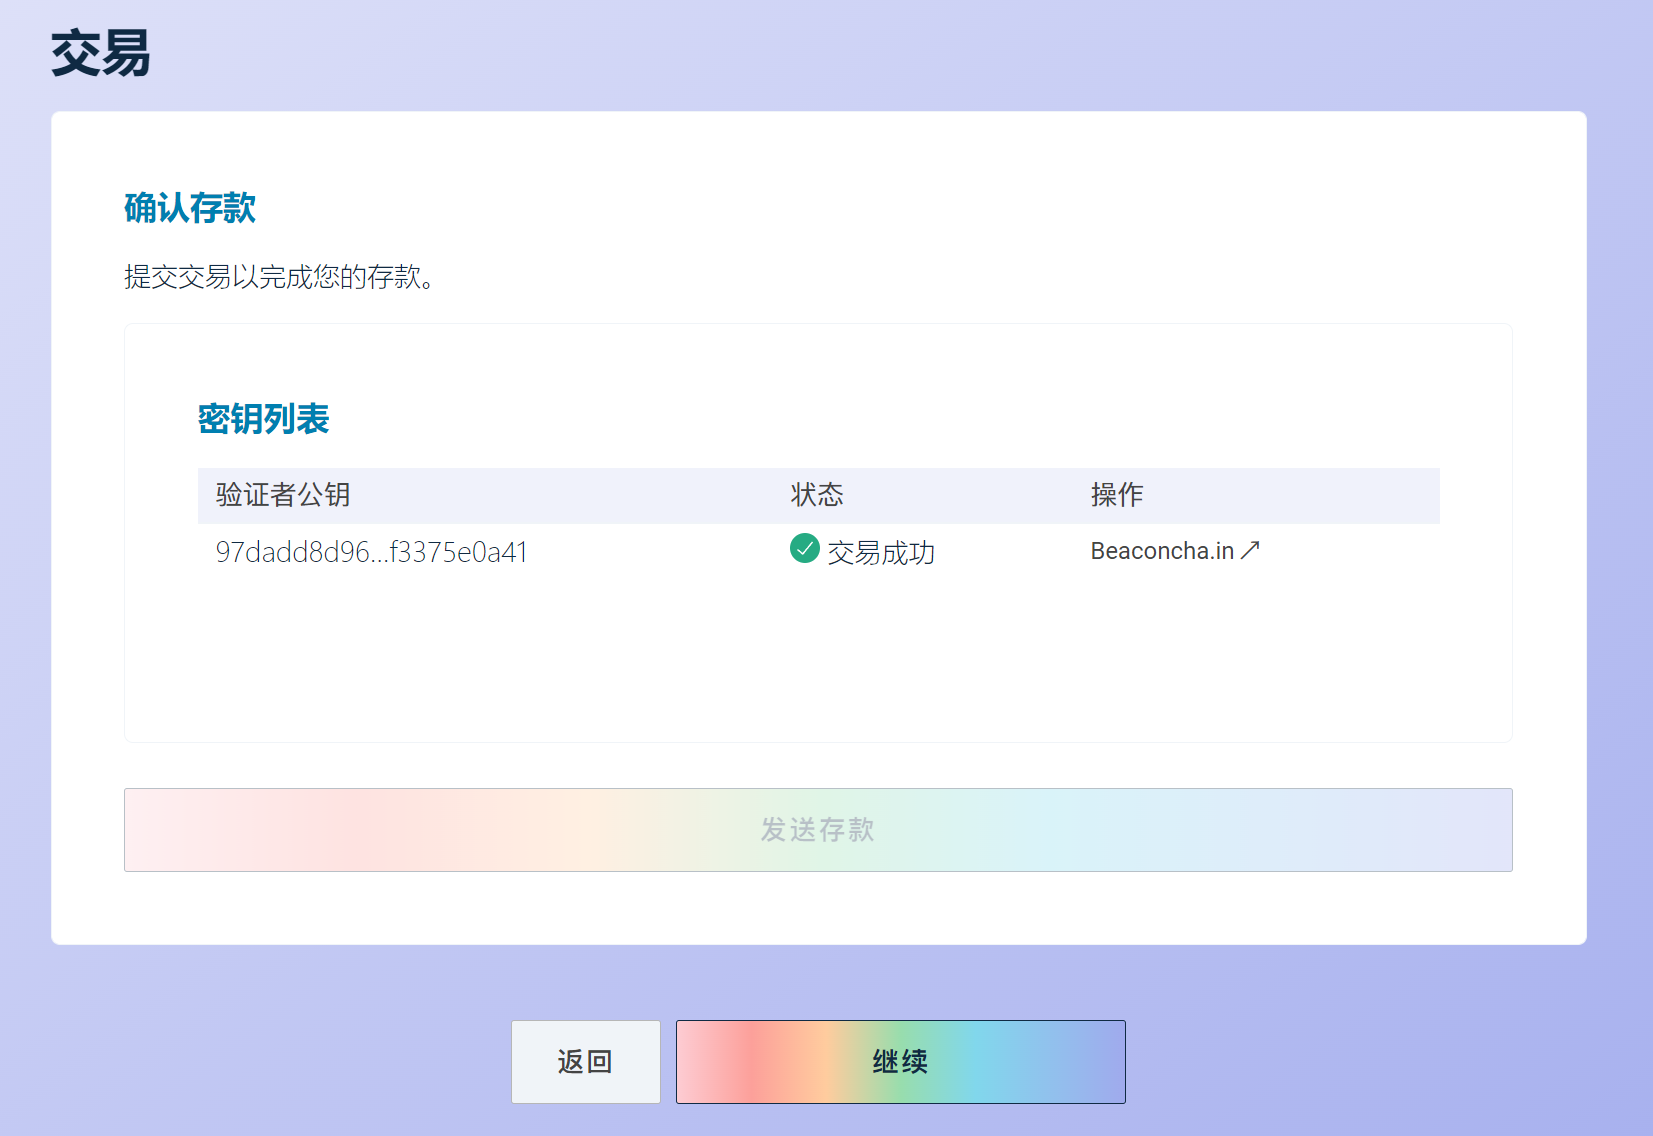
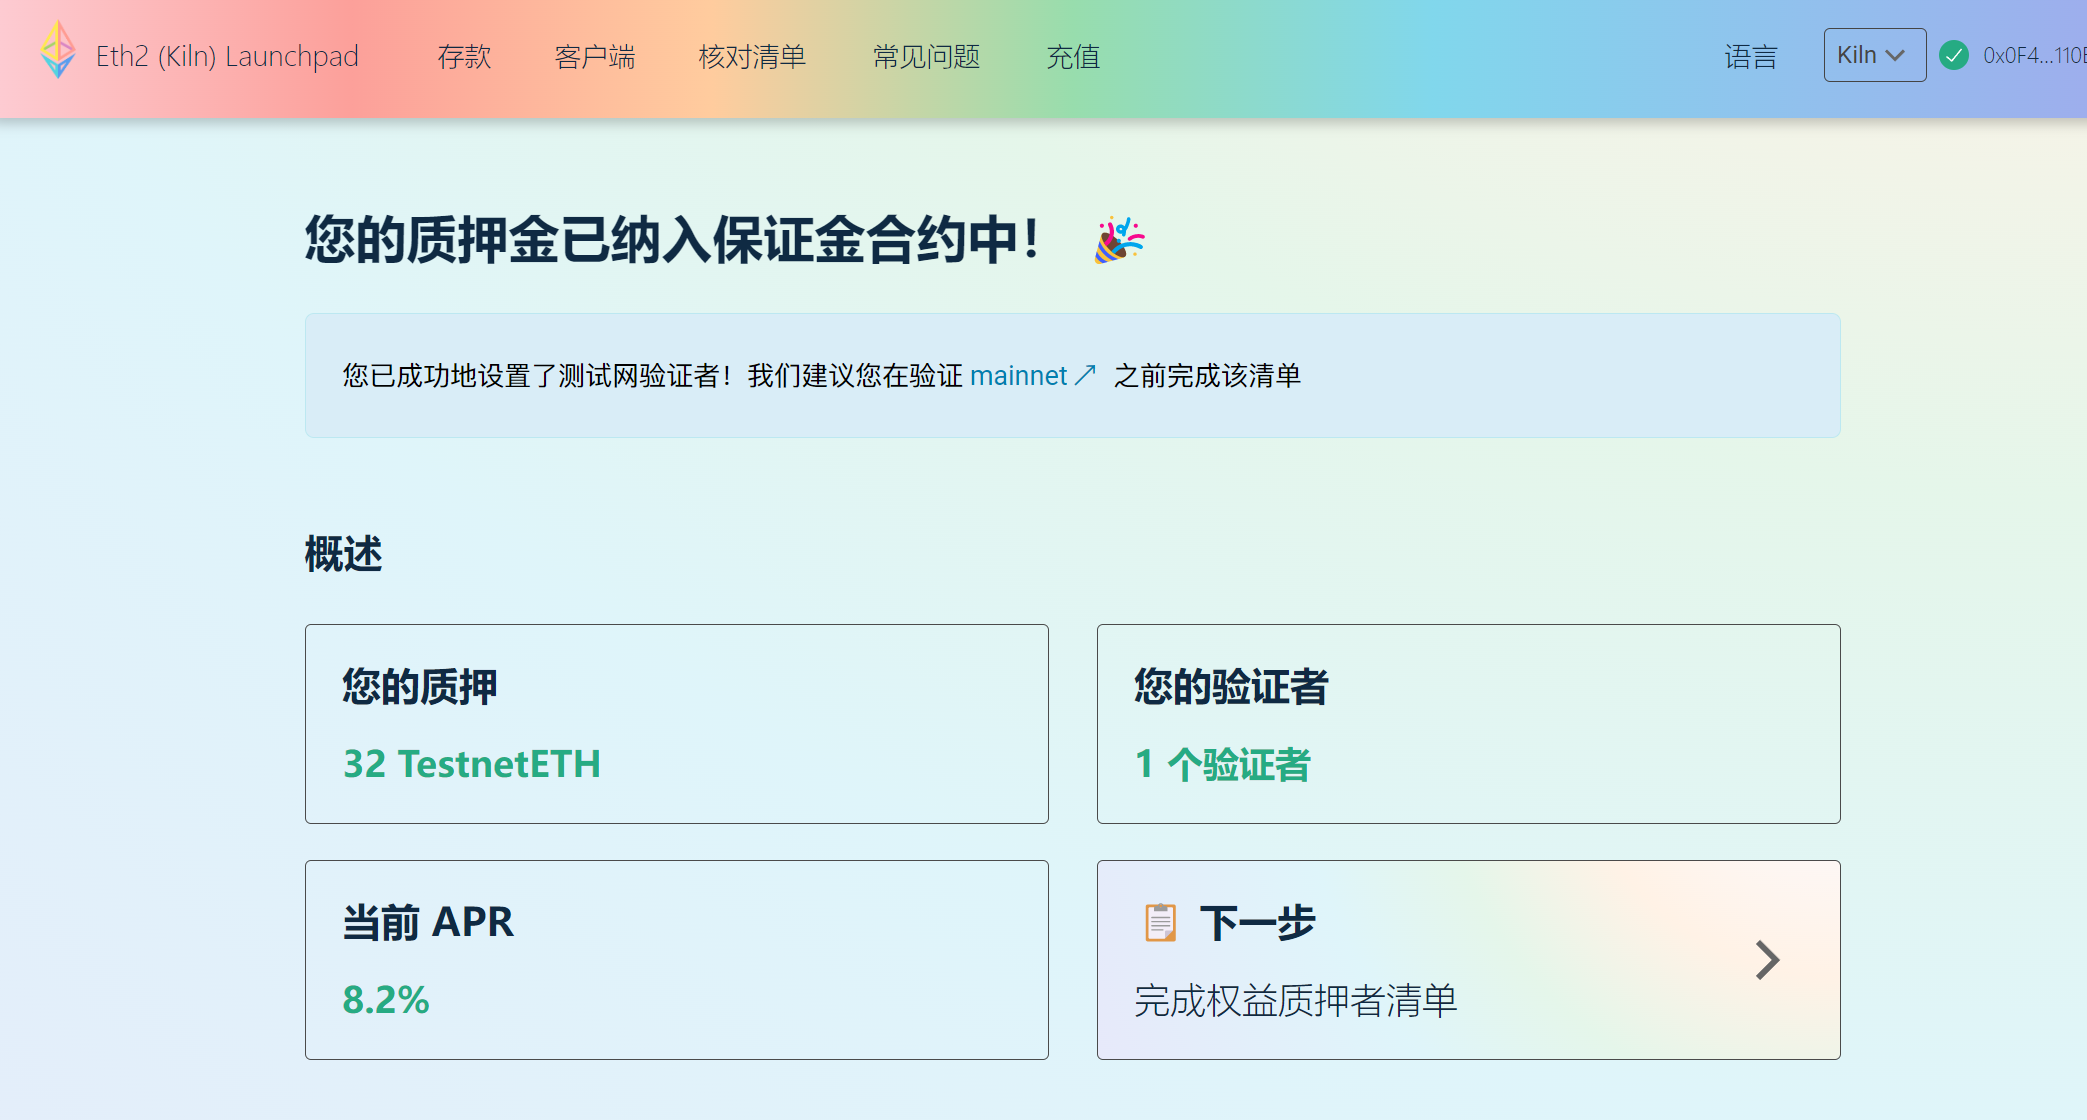
去以太坊官网成为验证者:

1
2
| ./ethd keyimport
./ethd up
|
1.4 EthDocker 配置更改
1. docker-compose配置文件
如果修改了dc的配置文件,比如修改了geth.yml:
1
2
3
4
| cd ~/mgg/merge-test
./ethd stop
dc -f geth.yml build
./ethd up
|